Table of Contents
- 🎯 What You’ll Learn in This Blog
- 🖥️ Hosting a Web App Inside a Virtual Machine
- 💻 Creating the Web App in Visual Studio
- 🚀 Hosting the App in IIS
- ❗ Local Access vs Public Access
- 🔐 Securing the Web App in VM
- 🛡️ The Right Solution – Application Gateway
- 🧩 Final Thoughts
🎯 What You’ll Learn in This Blog
In this blog, we will:
- Deploy a web application inside an Azure Virtual Machine
- Install and configure IIS + .NET 8 Hosting Bundle
- Create an ASP.NET Core MVC app using Visual Studio
- Publish the app and host it on the VM using IIS on port 8080
- Understand why the app is accessible only locally and not via public IP
- Learn the security risks of exposing VMs directly to the internet
- See how Azure Application Gateway protects the web app
By the end, you’ll know how to host a real web app in a VM—and more importantly, how to secure it 🔐.
🖥️ Hosting a Web App Inside a Virtual Machine
To run a web application inside a VM, we must first turn the VM into a web server.
🧰 Step 1 – Connect to the VM
- Use Remote Desktop (RDP) to log in to your Azure VM
- Open Server Manager
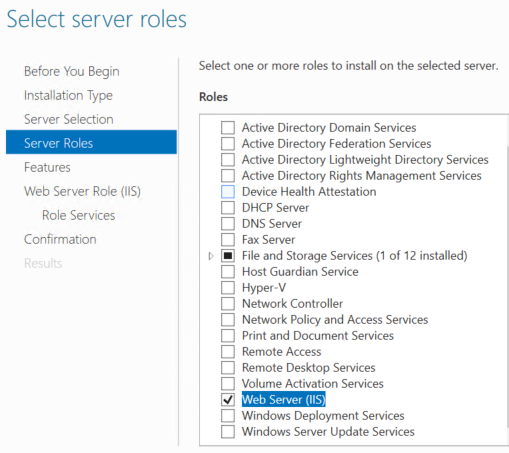
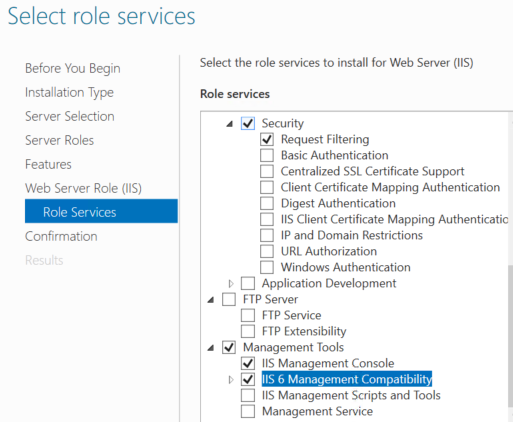
🌐 Step 2 – Install IIS (Web Server)
- Go to
👉 Server Manager → Add Roles and Features - Select:
✔ Web Server (IIS) role
✔ Under features, enable IIS 6 Management Compatibility - Wait for installation to finish ⏳
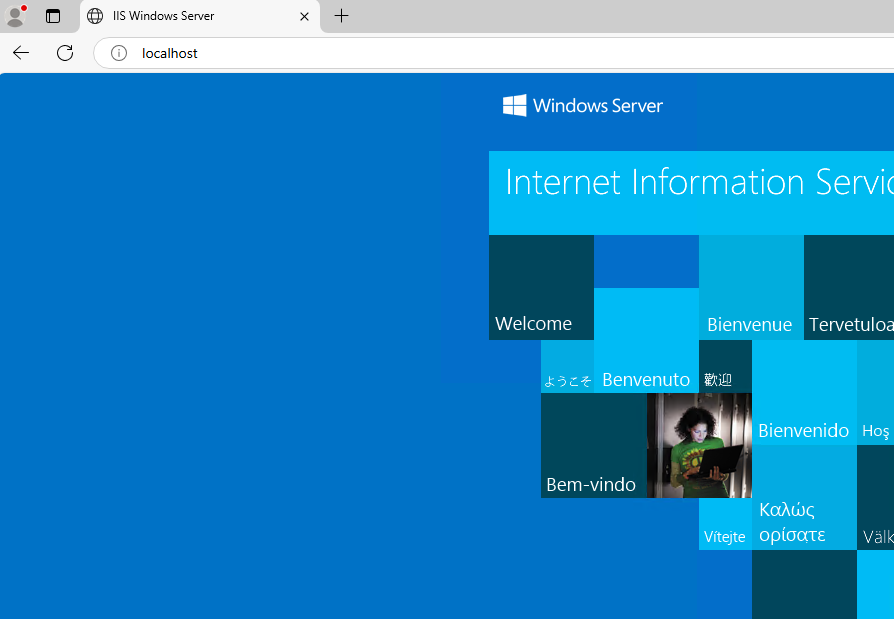
After installation you will see:
C:\inetpub\wwwroot
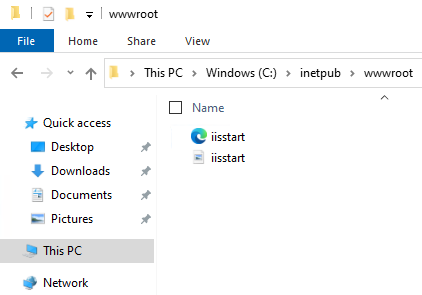
This folder contains the default IIS landing page.
✅ You can test it inside the VM by opening:
http://localhost
⚙️ Step 3 – Install .NET 8 Hosting Bundle
Download and install the latest .NET 8 Hosting Bundle inside the VM so IIS can run ASP.NET Core apps.
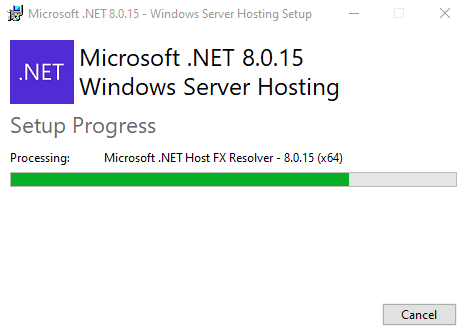
💡 Without this bundle, IIS cannot host .NET applications.
💻 Creating the Web App in Visual Studio
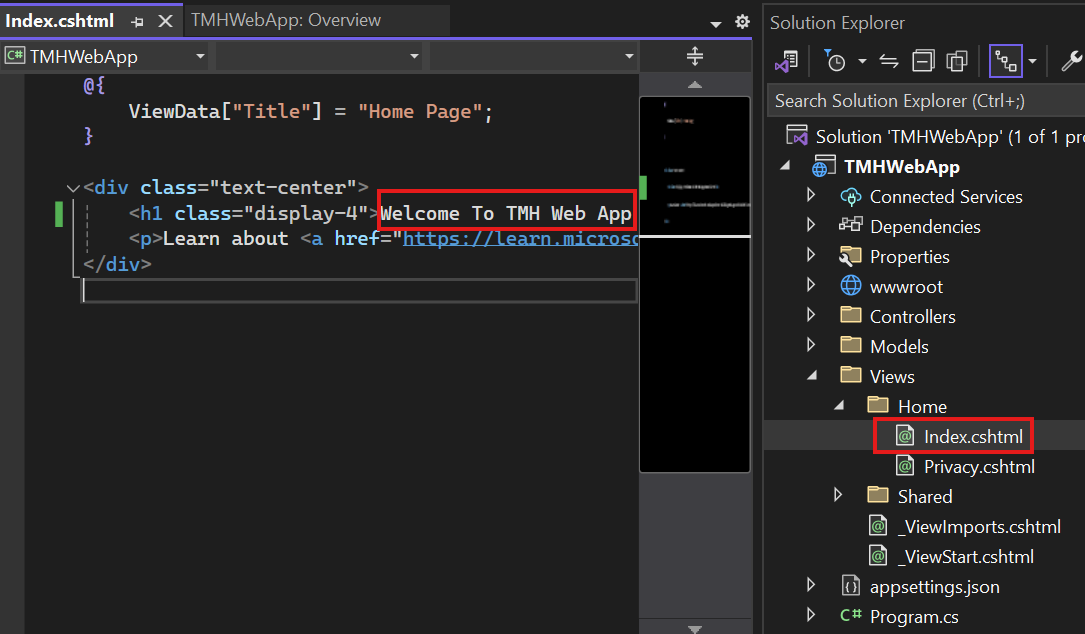
🧪 Step 4 – Build an ASP.NET Core App
- Open Visual Studio
- Create a project:
👉 ASP.NET Core Web App (Model–View–Controller) - Make a small UI change to:
Home → Index.cshtml
(so you can recognize your app later)
📦 Step 5 – Publish as Folder
- Right click project → Publish
- Choose → Publish to Folder
In settings select:
- ✅ Self-contained deployment
(so app runs without external dependencies)
- Copy the published folder into the VM.
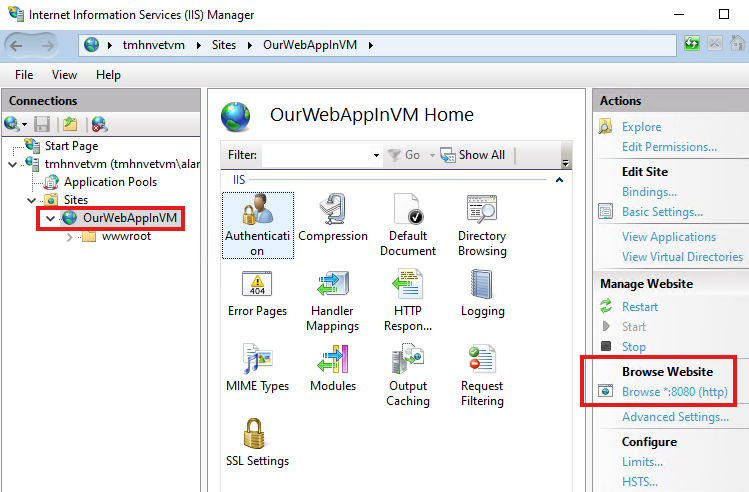
🚀 Hosting the App in IIS
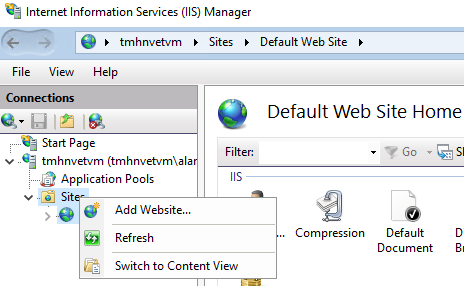
🛠️ Step 6 – Configure IIS Website
- Open IIS Manager in the VM
- Remove the default website
- Click Add Website
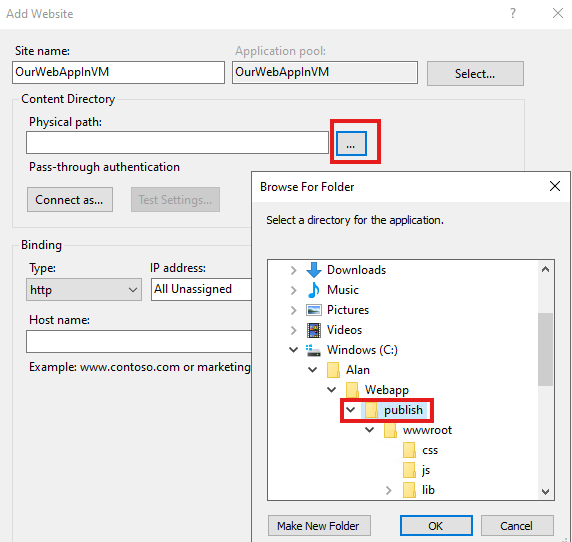
Configure:
- 📁 Physical path → your published folder
- 🌐 Port → 8080
📌 The publish folder must be the parent of the
wwwrootfolder.
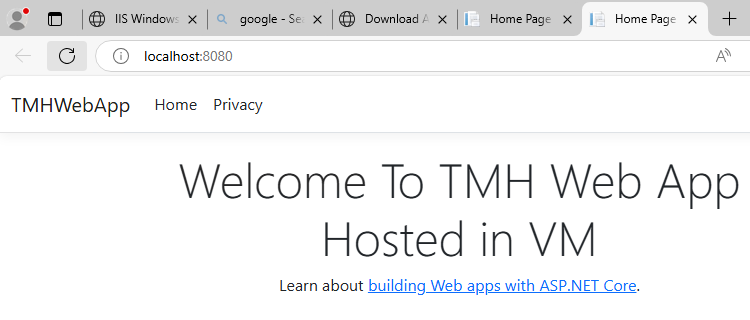
👀 Step 7 – Test Locally
Click Browse :8080
Your web app opens at:
👉 http://localhost:8080
🎉 The app is now running inside the VM!
❗ Local Access vs Public Access
Right now:
- ✅ App works inside the VM
- ❌ App is NOT accessible using the VM’s public IP
You could open port 8080 to the internet…
👉 But this is a BAD idea.
🔐 Securing the Web App in VM
Exposing a VM directly to the internet introduces serious risks.
⚠️ Common Security Threats
- 🚨 DDoS Attacks
Bots flood your app with requests so real users cannot access it. - 🧨 Cross-Site Scripting (XSS)
Malicious scripts injected into your pages. - 💉 SQL Injection
Attackers manipulate database queries. - 📉 HTTP Protocol Violations
Malformed requests to crash or exploit the app.
❌ Opening inbound port 8080 is NOT recommended
Even RDP port should be closed in production.
🛡️ The Right Solution – Application Gateway
Instead of exposing the VM:
- All traffic should enter through Azure Application Gateway
- Gateway validates and filters requests
- Only safe traffic reaches the web app
✅ Benefits
- Web Application Firewall (WAF)
- DDoS protection
- SSL termination
- Central entry point
- No direct VM exposure
🧠 Architecture Idea
Internet → Application Gateway → VM Web App
NOT → Internet → VM directly
🧩 Final Thoughts
You have now learned:
- How to convert a VM into a web server
- Host an ASP.NET Core app in IIS
- Why local access ≠ public access
- The dangers of exposing VMs
- The importance of Application Gateway
🚀 Real-world rule:
Never expose VMs directly—always use a gateway!
Leave a Reply